Build Your DIY Pizza Oven - The Right Way
Forget sand domes, gym balls, and dodgy timber frames. Our single-use cardboard mould takes out the guesswork and gives you a rock-solid foundation for a proper wood-fired outside oven. Here’s how to do it:
-

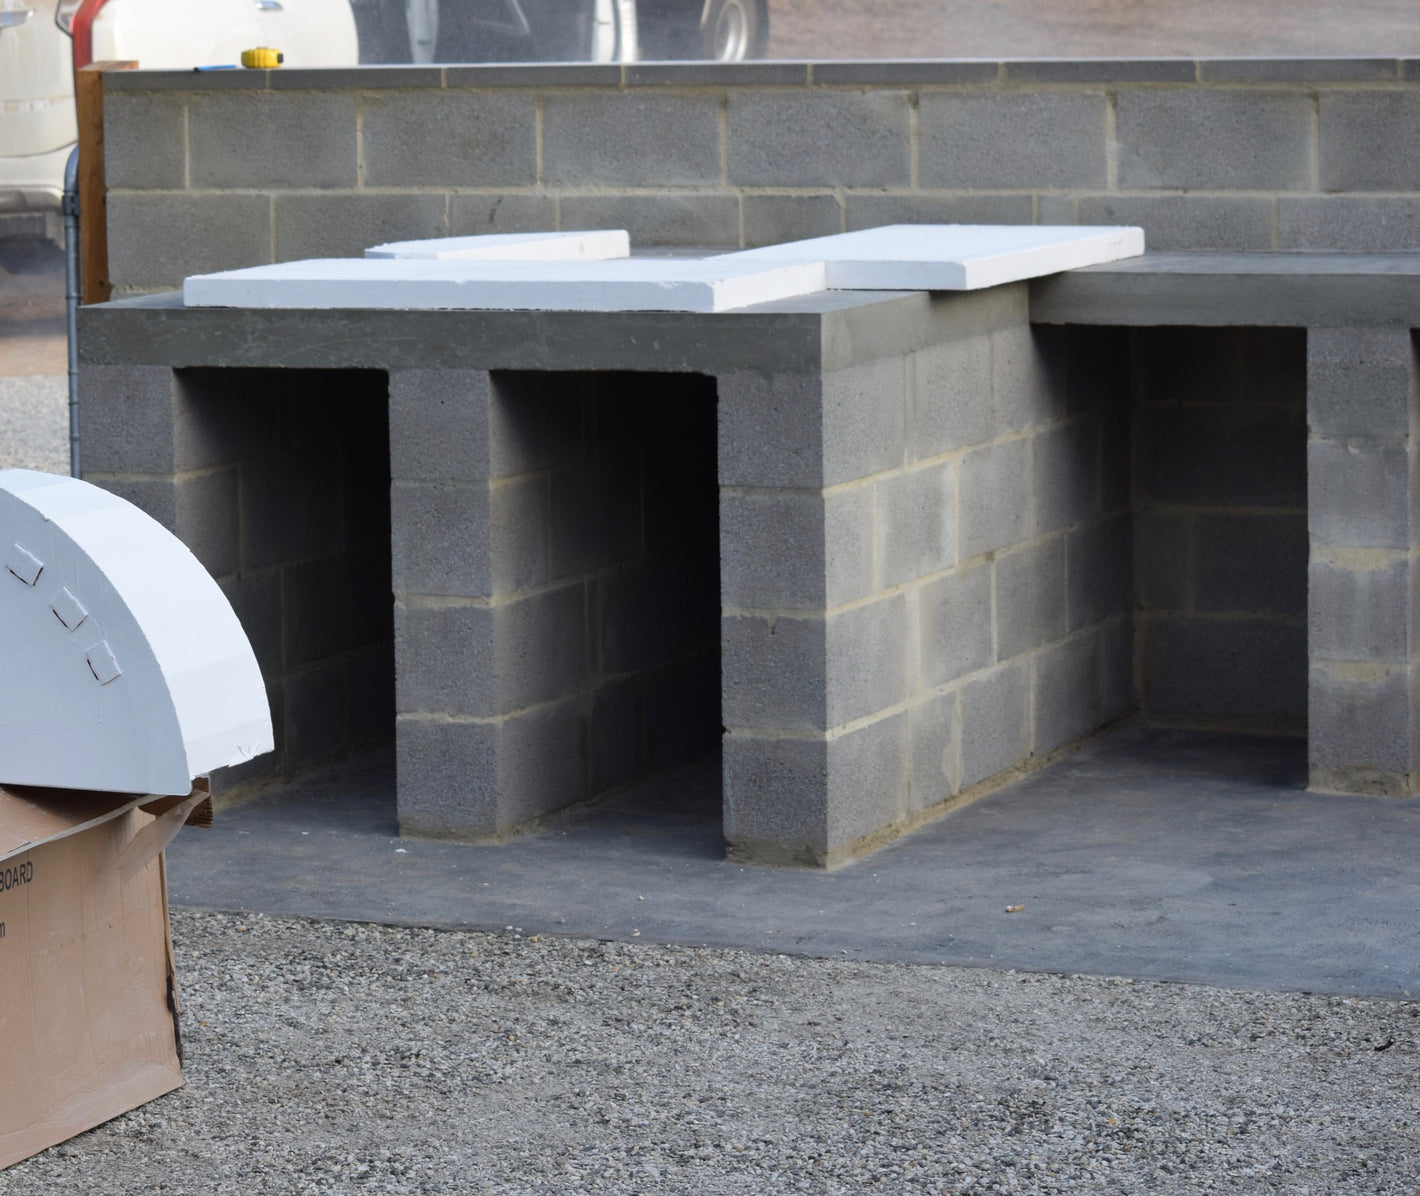
1. Prep Your Base
Before anything else, build a solid base. It needs to be strong, level, and ready to handle the weight of your oven. Search around for design ideas, but the golden rule is: don’t skimp on the foundation.
-
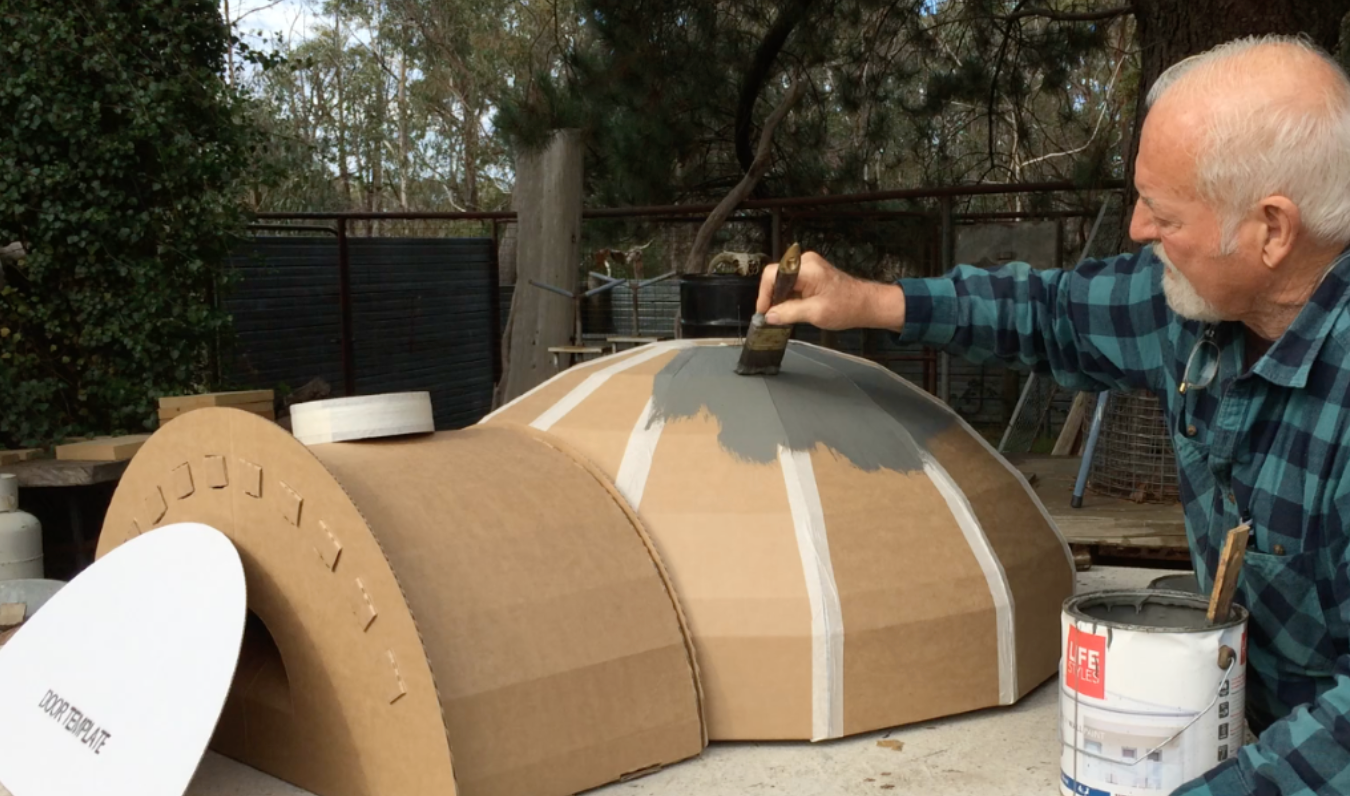
2. Assemble the Mould
Set aside about an hour to put the cardboard pizza oven mould together. It’s easy and straightforward. Give it a quick coat of paint to seal it from moisture, then trace the base and set it aside for now.
-
3. Insulate the Oven Floor
Lay down a 25–50mm calcium silicate board. This insulation keeps heat in the cooking surface where it belongs. Cut it to size to match your base and get ready to build up from there.


-
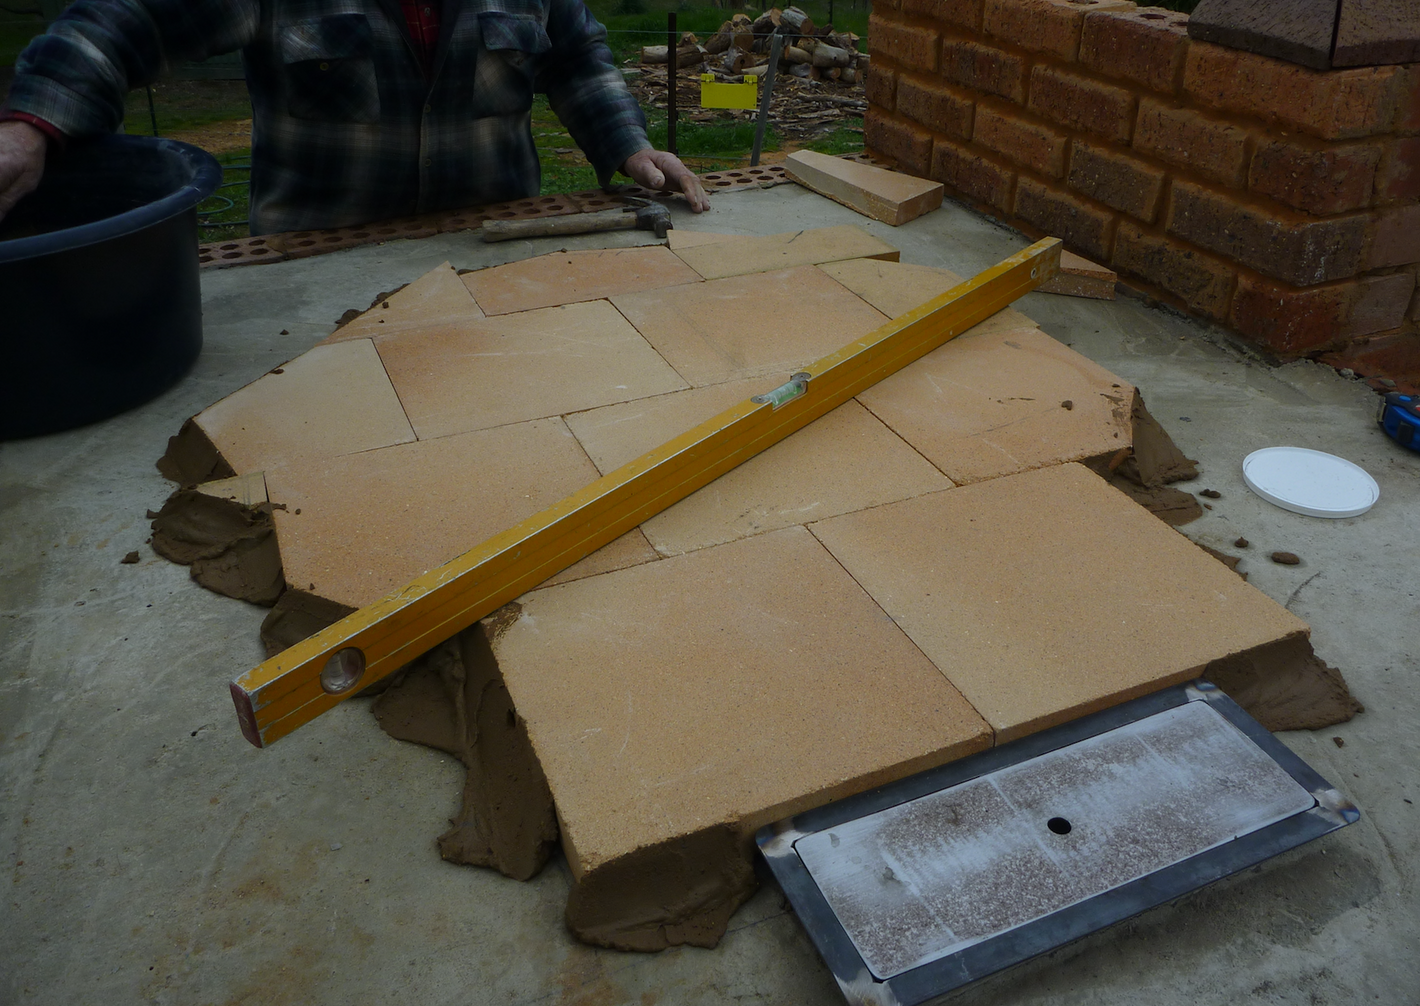
4. Lay Your Fire Bricks
Fire bricks are your cooking surface. Lay them tight and level across the insulation board. They retain heat like nothing else and make sure your pizzas and roasts get that perfect crunch and even cook.
-
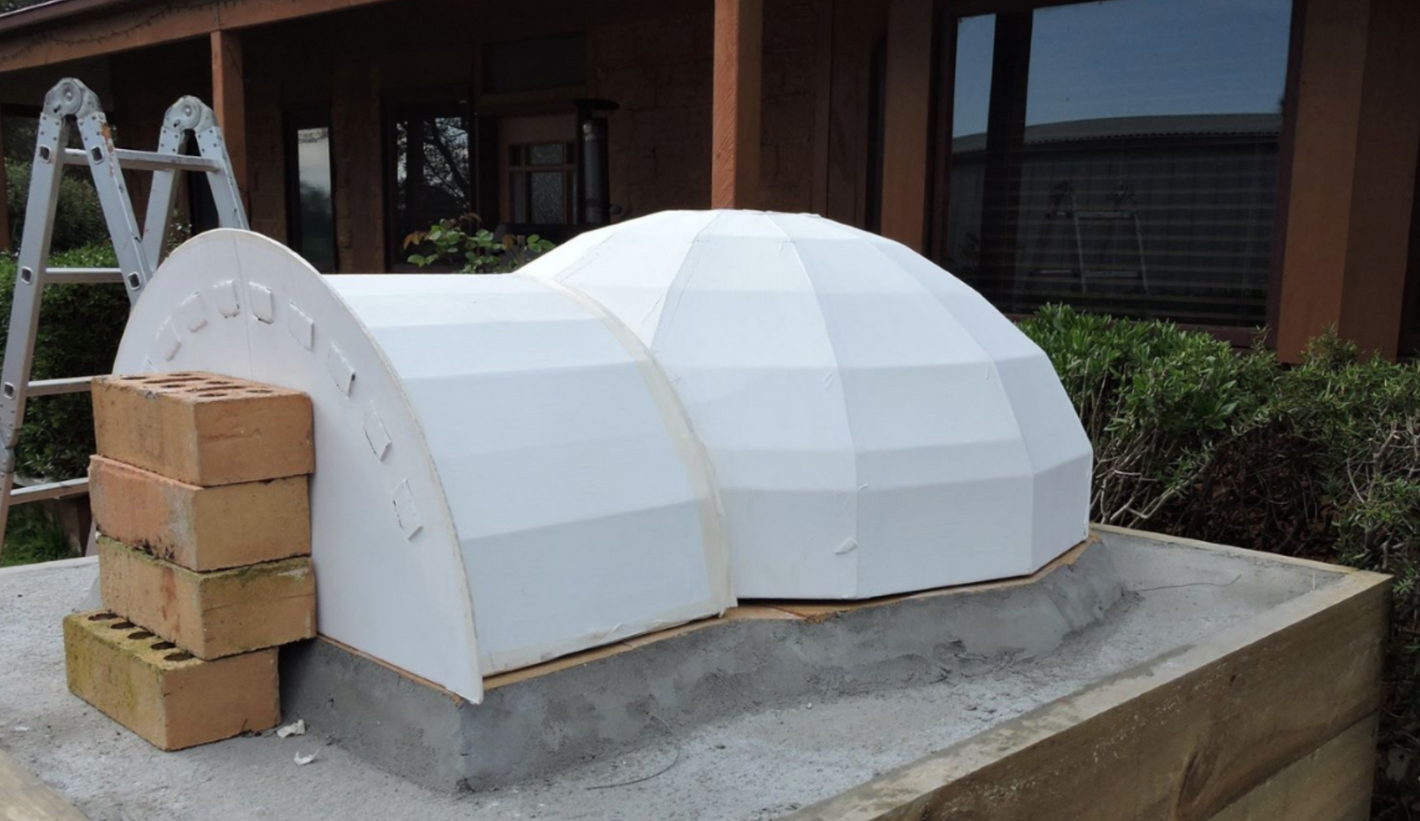
5. Set the Mould
Place the assembled mould back on top, right over the fire bricks. Make sure it’s centred and stable—use bricks or weights to hold it down if needed. This is where the dome begins.
-
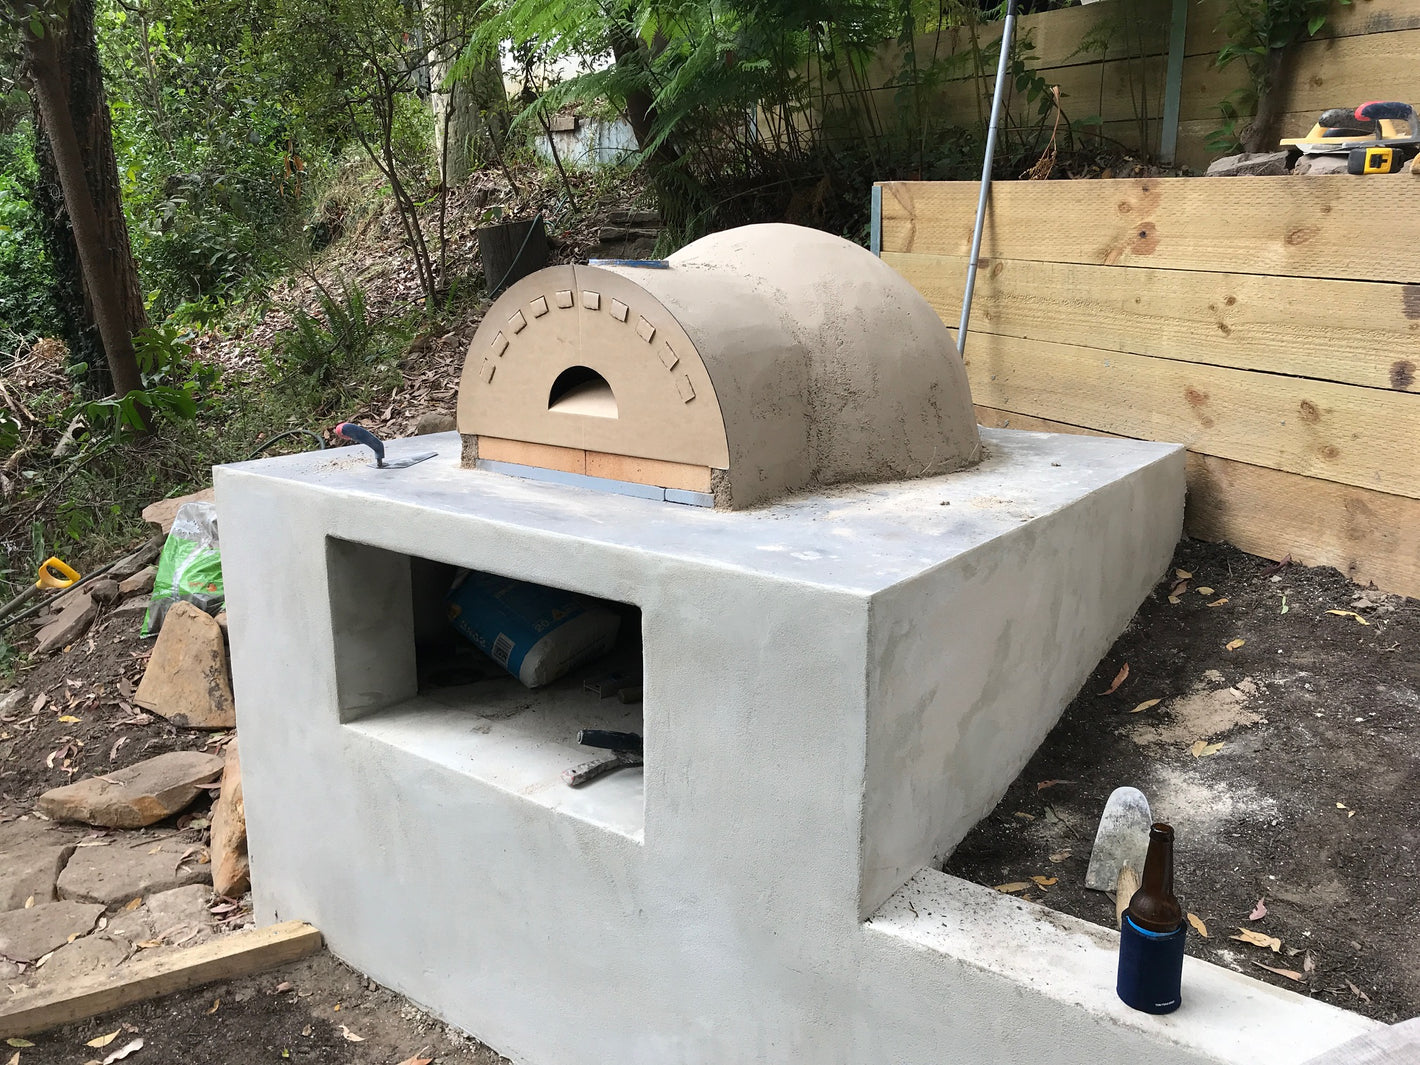
6. Add Refractory Cement
Now you’re building the actual oven. Mix and apply refractory cement over the mould. This stuff is made to handle extreme heat and lock in performance. Work fast, smooth, and cover the whole thing evenly.


-
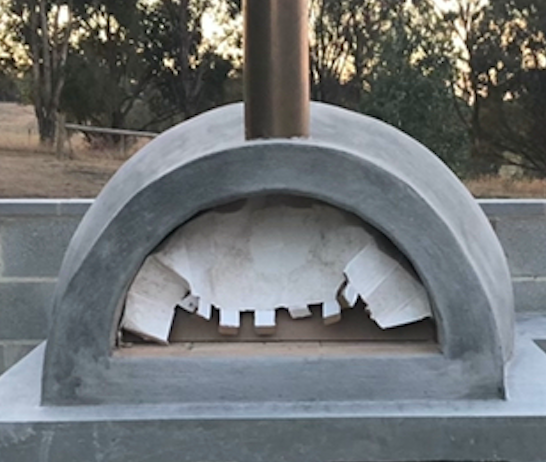
7. Remove the Mould + Install the Flue
Once the refractory cement sets, the mould will burn away—or you can remove it by hand. Place your flue in. Ventilation is key to cooking performance.
-
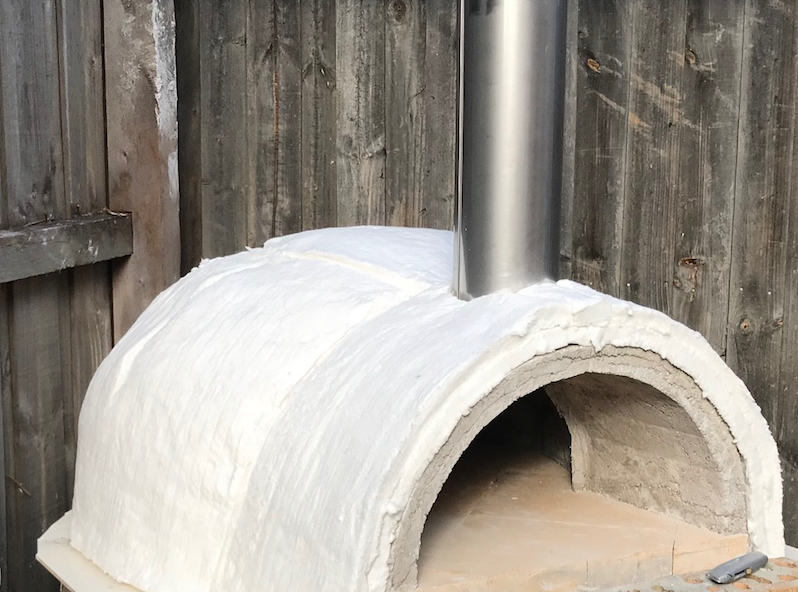
8. Wrap with Ceramic Blanket
Add a layer of ceramic fibre blanket over the dome. This locks in heat and gives your oven that long, slow burn it needs for baking bread and slow-cooking meats.
-
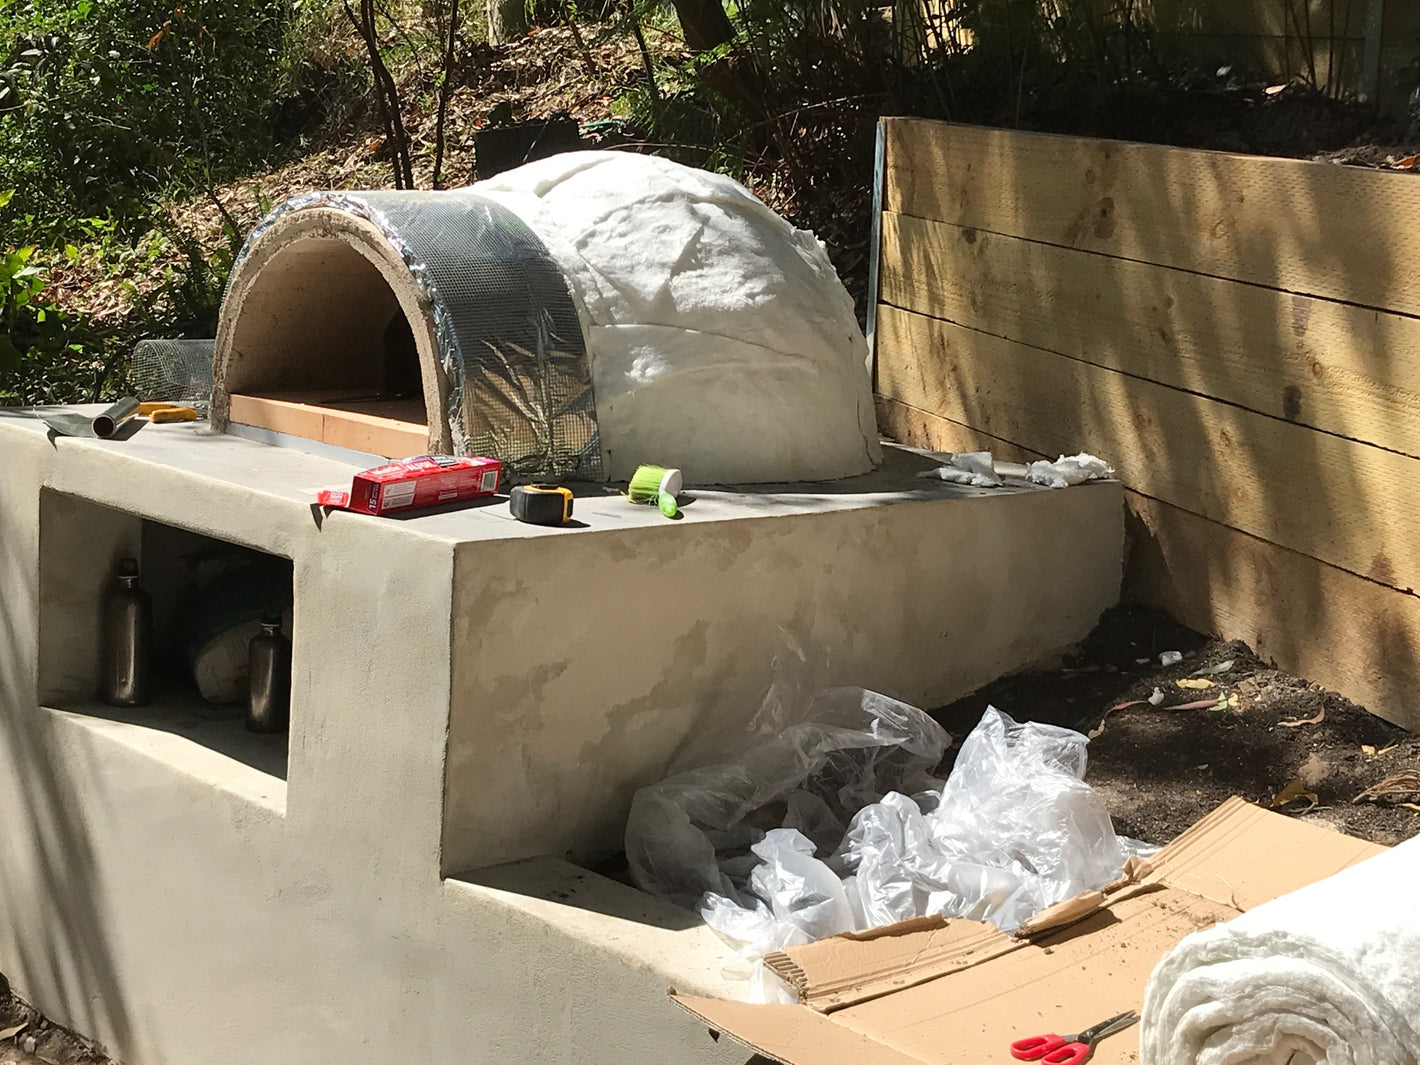
9. Foil It
Cover the blanket with foil—normal kitchen foil or builder’s foil both work. This adds another layer of insulation and helps protect your oven’s inner heat core.


-
10. Chicken Wire
Lay chicken wire over the foil. It reinforces the structure and gives your final outer layer something to grip to. Make sure it’s tight and snug over the whole dome.
-
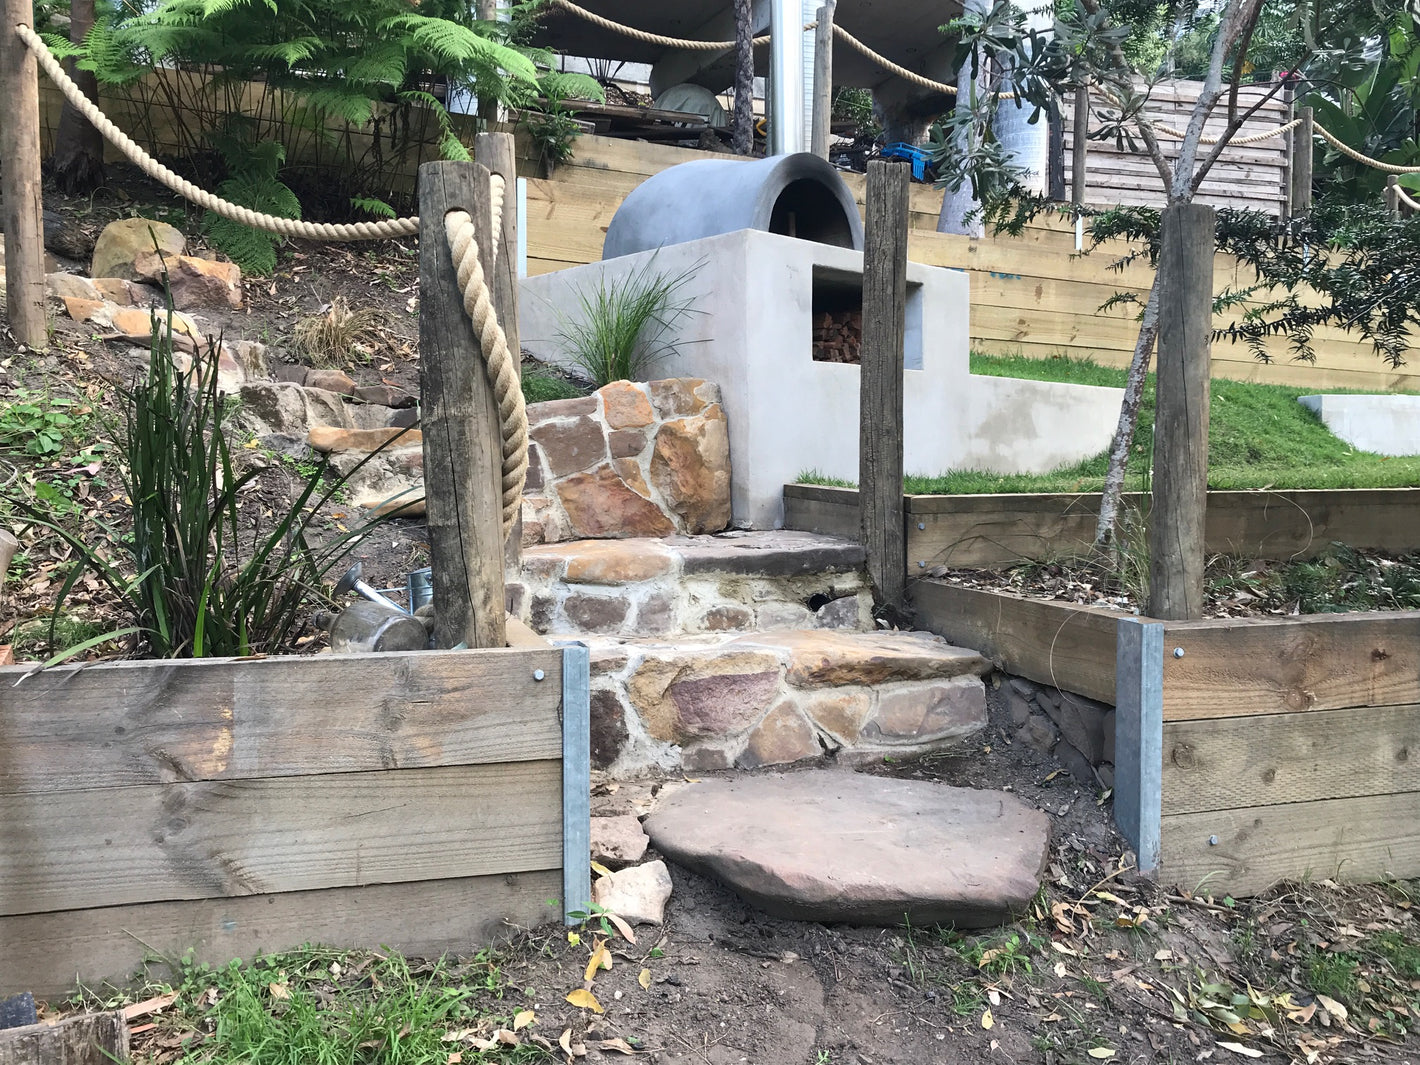
11. Final Coat — Make It Yours
Now for the fun part. Render it. Tile it. Brick it. Stone it. However you want it to look, go for it. This is where your outside oven takes shape and becomes something to be proud of.
-
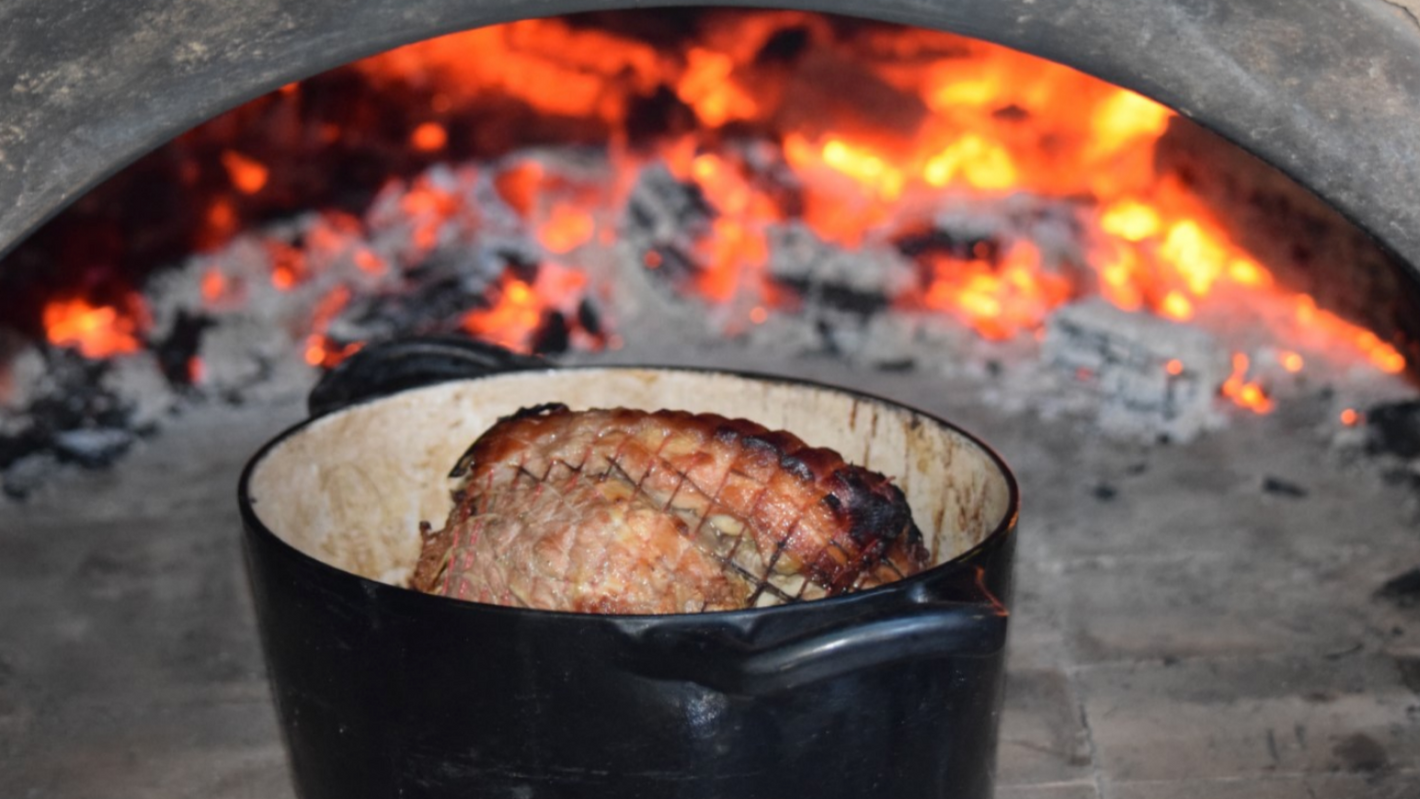
Fire It Up
Once your oven is cured, it’s go time. Cook pizzas in minutes. Roast all afternoon. Bake bread with retained heat. It’s not just a pizza oven—it’s a serious outdoor cooking setup you built yourself.

